


Wiki
Last Updated :2023-07-11 Views:578
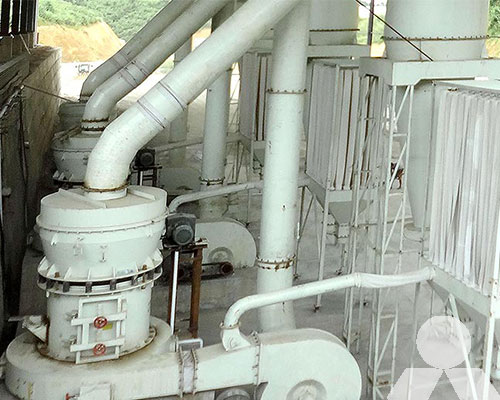
How to adjust the grinding roller of Raymond mill?
To adjust the grinding roller of a Raymond mill, you can follow these general steps:
- Power off the Raymond mill: Before making any adjustments, ensure that the mill is completely powered off and disconnected from the electrical supply to avoid any accidents.
- Access the grinding chamber: Open the access door or remove the housing cover to gain access to the grinding chamber of the Raymond mill. This will allow you to locate the grinding roller assembly.
- Loosen the locking nuts: Identify the adjusting mechanism for the grinding roller. It typically consists of a set of adjusting screws or bolts along with locking nuts. Loosen the locking nuts using an appropriate wrench or tool, but make sure not to fully remove them.
- Adjust the roller height: Depending on the design of your Raymond mill, there may be different methods to adjust the roller height. Some models have individual adjusting screws for each roller, while others have a central mechanism that adjusts all rollers simultaneously. Consult the manufacturer’s instructions or the mill’s manual to determine the specific adjustment method.
- Individual adjustment: If your mill has individual screws for each roller, turn the screws clockwise to raise the roller or counterclockwise to lower it. Make small adjustments at a time and check the roller height after each adjustment.
- Central adjustment: For mills with a central mechanism, locate the adjustment point (such as a handwheel or lever) and turn it in the appropriate direction to raise or lower all the rollers simultaneously. Again, make small adjustments and check the roller height after each one.
- Check the roller height: Once you have made the desired adjustments, visually inspect the roller height to ensure it is uniform across all rollers. Use a measuring device, such as a ruler or caliper, to verify the distance between the grinding surface and the table of the mill. Adjust any individual rollers as needed to achieve uniformity.
- Secure the adjustment: Once you are satisfied with the roller height, tighten the locking nuts to secure the adjustment in place. Ensure that they are tightened adequately to prevent any movement during operation but be careful not to overtighten and damage the adjusting mechanism.
- Close and power on the mill: Close the access door or replace the housing cover to enclose the grinding chamber. Reconnect the power supply and turn on the Raymond mill.
It is important to note that the specific process for adjusting the grinding roller of a Raymond mill may vary depending on the model and manufacturer. Always refer to the mill’s manual or consult the manufacturer for detailed instructions and safety guidelines.

